Tuesday, June 14, 2011

Weekly Gardening Outlook: Growing, Composting, and Chicken Raising

This will be a continuing series where we look ahead at the coming week in gardening for the Northwest Arkansas area.

Cornish/Rock cross chickens
Mrs. A was given these birds as chicks, hoping that they may be egg layers.  As they grew, it became obvious that they were meat birds (most likely Cornish/Rock crosses).  She didn't want to process them, so she gave them to me.  In the week they spent in our backyard, they never associated with my six laying hens.  In the few times the two groups came into contact at the feeder, the much larger white chickens ran the hens off.


Black Australorp hens

The hens would have to keep an eye out and run in to grab a bite to eat while the white birds were out.  To the hen's relief, I put the white birds in the freezer this past weekend and things have returned to normal for them.  Look for a post on chicken processing soon. 


Tomato and strawberry plants

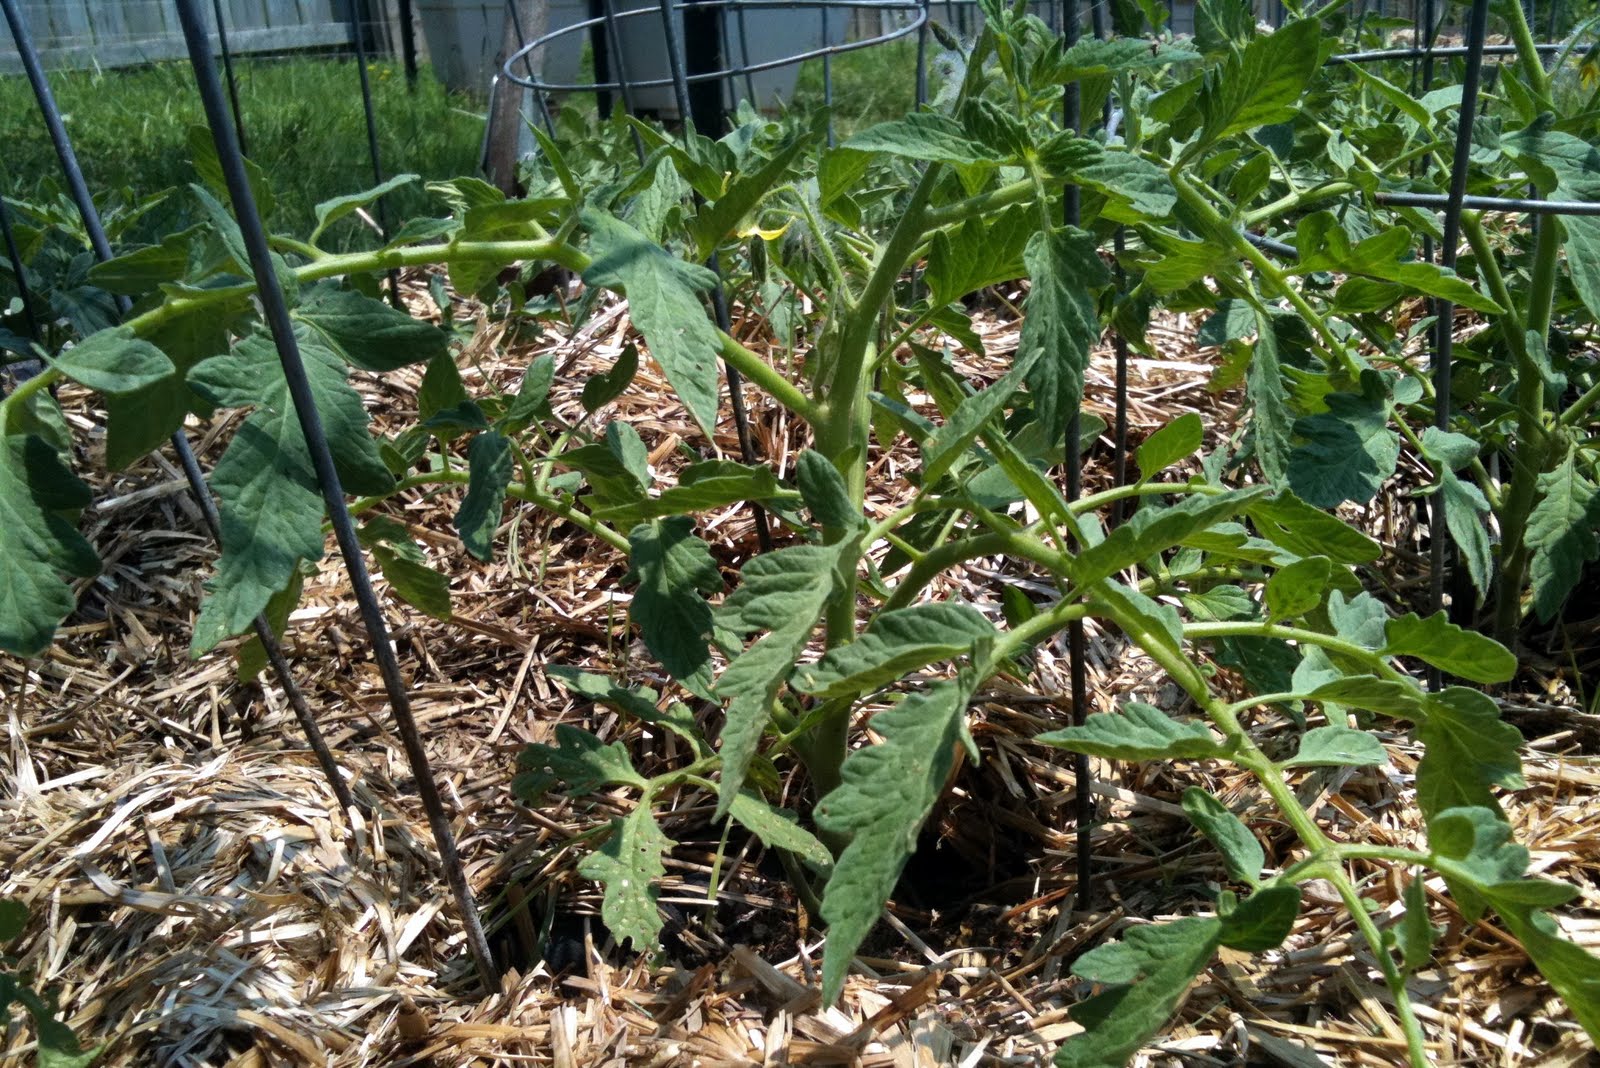
Tomato plant
The tomatoes are doing fantastic.  Whatever was eating them isn't bothering them now (knock on wood).  I have several small tomatoes forming.

Okra
All but three of the okra have sprouted.  I replanted the three open spaces and they are all breaking the soil surface now.
Flowering cilantro
This is the volunteer cilantro that was the result of last year's plants going to seed.  It is now flowering and will produce seed of its own.  The neat thing about cilantro is that it is two herbs in one.  You may know the seeds by the name coriander. 
Pepper plants

First pepper of the year (serrano pepper)
All seven pepper plants are covered in blooms and small fruit.  Should be a good year for peppers.
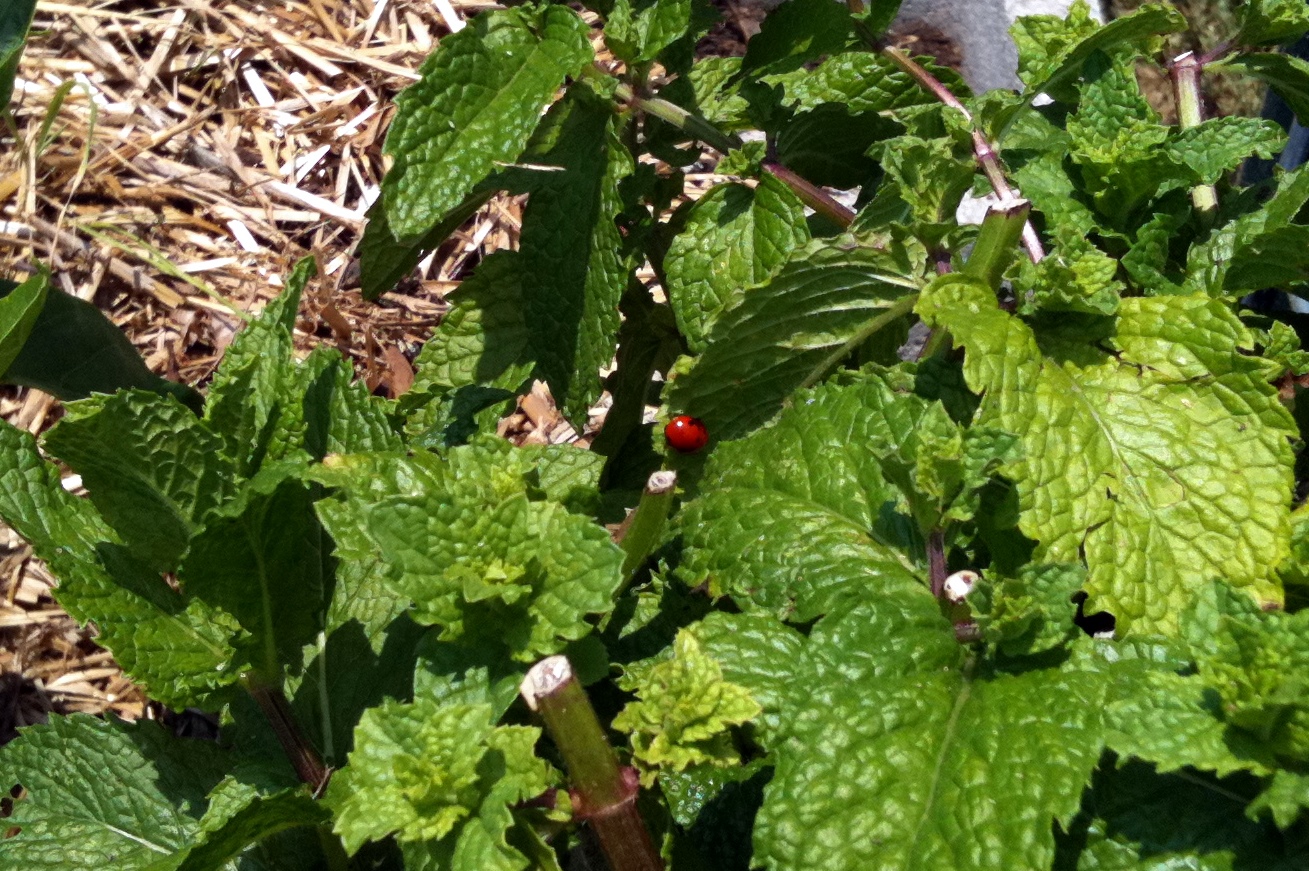
Lady beetle on mint
I've noticed a lot of lady beetles in the garden this year.  They are voracious aphid eaters, so I was concerned that the large numbers of lady beetles meant there must be a lot of aphids around for them to eat.  A close examination of my plants reveals no aphids.  Perhaps the lady beetles are keeping them cleaned out.
Green bean (purple podded pole) seedlings
The green beans are getting the first true leaves.  The vines will be 6 feet long in the blink of an eye.
Butternut squash seedling
I found a couple of mature squash bugs in my beds.  Both were immediately smashed and I haven't seen any more.  I'm sure I will though.  I'll hit them with a mixture of organic insecticides, neem oil and pyrethrum (aka NeemII) when they show their faces again.
(Left to right) Thyme, oregano, and lemon thyme

Lemon thyme flowering
The oregano is taking over, forming a thick carpet of vegetation.  I love it!  The lemon thyme has a few tiny, almost imperceptible flowers on it.
Eggplant seedling
I had a couple of open spots in the garden where I removed the cilantro, so I planted two eggplants in the spaces.  All seems to be well.  The flea beetles haven't found them yet.
Purple and yellow onions

Yellow onions

Purple onions
What's not to love about onions?  So easy and low maintenance.  As long as they get some water and enough sun, they thrive.
Swiss chard seedlings
I over planted the Swiss chard.  I thinned them down to one plant per hole after this picture was taken.  I ate the culled seedlings right there in the garden.  Very good.
Turnip seedling
I've grown turnips when the weather was cool before.  Now I'm trying them in the heat of summer.  So far so good.
Potted blueberry bush

Blueberry cluster
The blueberries are much the same.  The first picture is of the surviving plant that hasn't put on fruit.  As you can see, it has a lot of new growth.  The berries on the other bush seem to be slow to mature.  Blueberries have been available locally for over two weeks.
Sunchokes (aka Jerusalem artichokes)
Back in the wild part of the yard, the sunchokes are doing their thing.  I look forward to the multitude of yellow flowers they will soon bear.


Mulberry tree growing over the fence


A ripening mulberry

I was walking the back part of the yard and noticed a tree I had overlooked.  More specifically, I noticed the berries.  It's a mulberry tree!  It produces blackberry-like berries that are good to eat if I can get to them before the birds do.  It may not get to full size, because the electric company won't let it get into those powerlines above.


Poison ivy
Boo! Hiss!  Poison ivy has gained a foothold in the back part of the yard.  Only three solutions I know of:  Spray it (not gonna happen), wear rubber gloves and pull it after a rain (futile effort), or mostly ignore it (that's my choice).


Homemade roosting bars

To make room for the chicks I had to pull the roosting bars out of the hen house.  Someone asked for a better picture, so here you go.  Right now they serve as a set of steps that allow my 4 year old to climb up and look at the new chicks.  Multipurpose!
Dial thermometer
Compost up to 115 degrees after 2 days
I use a cheap dial thermometer to keep up with how hot my compost pile is getting.  It should get between 110 and 160 degrees to kill weed seeds.  Mine was at 115 degrees just two days after adding the chicken litter and water.  It should stay this hot for one to three months, depending on how often I turn the pile.

Chicken and Egg Report:

Egg production is getting less predictable as the hens get older.  We are getting two to five eggs a day from our backyard flock of 6 hens.  The chicks are growing fast.  The meat chicks are twice the size of the laying pullets.  It's amazing what selective breeding has done.  I lost one of the meat chicks last night.  No external wounds or apparent cause of death.  One downside to these meat birds growing so fast is that they are fairly fragile. 

Weather Outlook:

-Hot and dry.  Getting into the upper 90's late in the week.  Very little chance of rain.
-Keep your garden well watered.  The high winds and temperatures will dry the garden out.

What's Being Harvested:

-Herbs
-Serrano peppers
-Green onions

Thursday, June 9, 2011

New Chicks on the Block

The new chicks eating and drinking.
The chicks are here and seem to be settling in well.  All are still alive and accounted for on day 4.

Removable roosting bars
I built this portable set of roosting bars for the hens to roost on at night.  As you can see, they do most of their "business" at night while roosting.  This makes cleaning out the coop easy because it puts the manure all in one place.  You can see the delineation between droppings and clean shavings at the front of the bars.  Because the droppings are under the bars and out of the way, the chickens don't walk through them allowing me to only clean the coop once a year.  Big savings of my time.  I was cleaning it out three times per year before I put the bars in.  The droppings dry out and do not stink as you may assume.

Chicken coop cleaned out
I built the coop with a trap door side to provide easy access for cleaning.  Also, the nests are at one end to allow me to divide the coop and use one end for chick rearing.  Above you can see the divider in place.  I cleaned this area out in preparation for the coming chicks.

New bedding for the coop
 A $5 bag of pine shavings makes a great bedding material for the chicks.  It's highly compressed and a little goes a long way.  Half a bag filled up the rearing area.

Composting chicken litter
 Chicken manure is very high in nitrogen and phosphorus.  Much too hot to add directly to the garden.  It needs a significant composting period to mellow out.  The wood shavings serve as a carbon source for the manure to compost with.  I watered it down to activate the bacteria within and by the next morning it was steaming and almost too hot to touch inside.  That's a good sign.  It means the bacteria are doing their jobs.

Newly arrived chicks
 At 6:00 am Monday, the post office called and wanted me to get this box full of cheeping critters out of there.  They arrived in a small cardboard box with a compressed straw mat and plenty of air holes.

Been a long trip
 Opening the box up, I was greeted by 25 peeping chicks.  During the trip, the chicks huddle together to keep warm.  This works fine for shipments of 25 or more chicks.  Fewer birds than that, they require a chemical heating mat to stay warm enough.  Because of this, an order of 25 is often cheaper than smaller orders, if the hatchery will even ship fewer than 25 at all.  They don't need to eat for the first few days because, just before hatch, the chicks absorb what remains of the egg yolk into their abdomens.  This provides them with a food source for this transition period from the egg to the outside world.

I ordered Murray McMurray's "Meat and Egg Combo," which is 10 pullets (females) of random brown egg laying breeds and 15 mixed sex Cornish/Rock meat birds.  The yellow puff balls in the picture will become large, white meat birds.  I have no idea what the layers are.  Part of the fun of it is trying to figure it out as their adult feathers grow in.

Releasing the new chicks into the coop
 They are gently dumped into the prepared pen.  There is a heat lamp shining into one corner to provide them with a warm spot.  They will self regulate temperature by moving closer to or further away from the heat lamp's area of focus.  The new chicks prefer a 95 degree environment.  Ideal ambient temperature declines by 5 degrees a week until week six when it stabilizes at 70 degrees.

Getting a drink
 I add a little table sugar to the first water to give them an energy boost after the long ride.  They like to get in the water and end up contaminating it with feces.  This makes dumping it out and giving them fresh water several times a day essential until they grow large enough that they don't fit into the waterer.  I feed them a non-medicated starter/grower crumble, meaning that it does not contain antibiotics.  Medicated feed contains low levels of antibiotics and has been shown to provide quicker growth.  If you choose to use it, be sure to take meat birds off of it two weeks before slaughter to allow it to pass out of their system.

Watching the new arrivals (Sunchokes growing in the background)
The chicks are a lot of fun to watch.  My oldest will not stop asking to go outside and look at them.


Tuesday, June 7, 2011

The "A" Family Gets Chickens

Children's playhouse before conversion to a hen house
Side view
One of the areas in which I'm looking to expand the business is in helping people get started raising small  livestock in their backyards.  Chickens are great because the provide a relatively steady stream of eggs, recycle kitchen waste, and are just enjoyable to watch.  Rabbits are another option.  They are quiet, eat relatively little, provide a very low fat meat source, and their droppings are a great fertilizer for the garden.

As a trial run for advising people in backyard livestock, I previously offered on this blog to help someone set up a backyard flock free of charge.  Mrs. A took me up on it.  Getting them set up was actually a breeze.  They already had 6 chicks from a school project and got 6 more from a friend.  They also had a fabulous playhouse that their children had outgrown.  Below I will detail the retrofitting of the playhouse into a hen house.

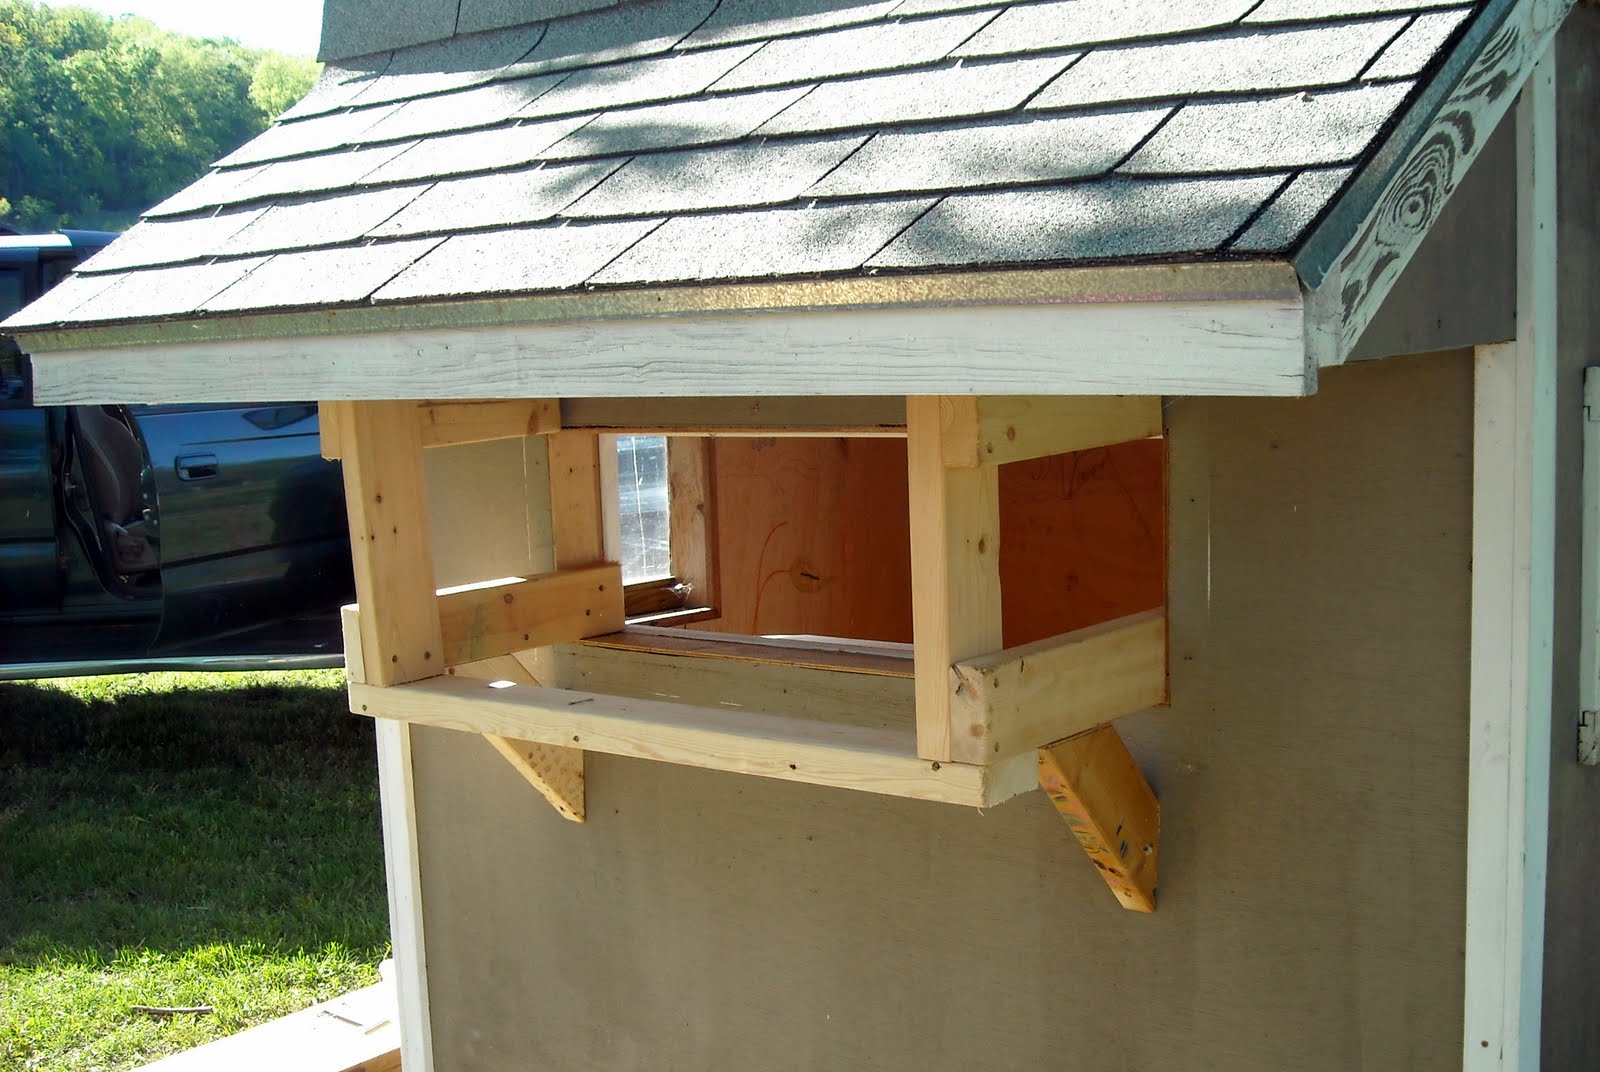
Nesting boxes mid-construction
The first thing we did was remove the large plexiglass window under the overhang.  We framed up a simple external nesting box using 2"x4" boards and 1/2" exterior grade plywood.  Each box should be 12"-15" cubes with a box for every 2-4 hens.  The opening was 36" long, so we made 3 nest boxes.

Removable nest dividers added
When the chicks start laying (4-6 months old), the nests will be lined with dry straw.  Every so often the nests will need to be cleaned and have the nesting material replaced with fresh straw.  These removable dividers should make that easy.

Mr. A installs a divider while Mrs. A looks on
Mr. A installs the nest box siding
Nest boxes completed
The door is hinged on the bottom and flips down to provide access to the nests for easy egg collection. The sides are covered with 1/2" exterior grade plywood to provide a draft free nest.

The "A" family at the back of the hen house
Showing off the sliding door and ramp into the chicken house
Sliding door in the closed position
Hen house window
The ramp and sliding door were added to allow the chickens to come and go from the house.  At dusk the chickens put themselves up in the house.  Chickens sleep heavily and are very vulnerable at night.  The sliding door is shut at night to keep out predators.  The two windows were covered with 1/2" screening.  On the coldest nights, they can be shut with sliding pieces of plexiglass.

Inside, the ramp provides access to the nest boxes
The inside openings to the nest boxed will be covered with cloth, with an opening for each box.  I used the pants leg of an old pair of jeans in my hen house.  This provides a dark, private nest environment which hens prefer.  Providing a proper nest box is essential to preventing turning egg collection into an Easter egg hunt around the yard.

What're you lookin at buddy?
My new chicks have arrived and I will post about the how's and what's of preparing for and raising up the chicks in the near future.